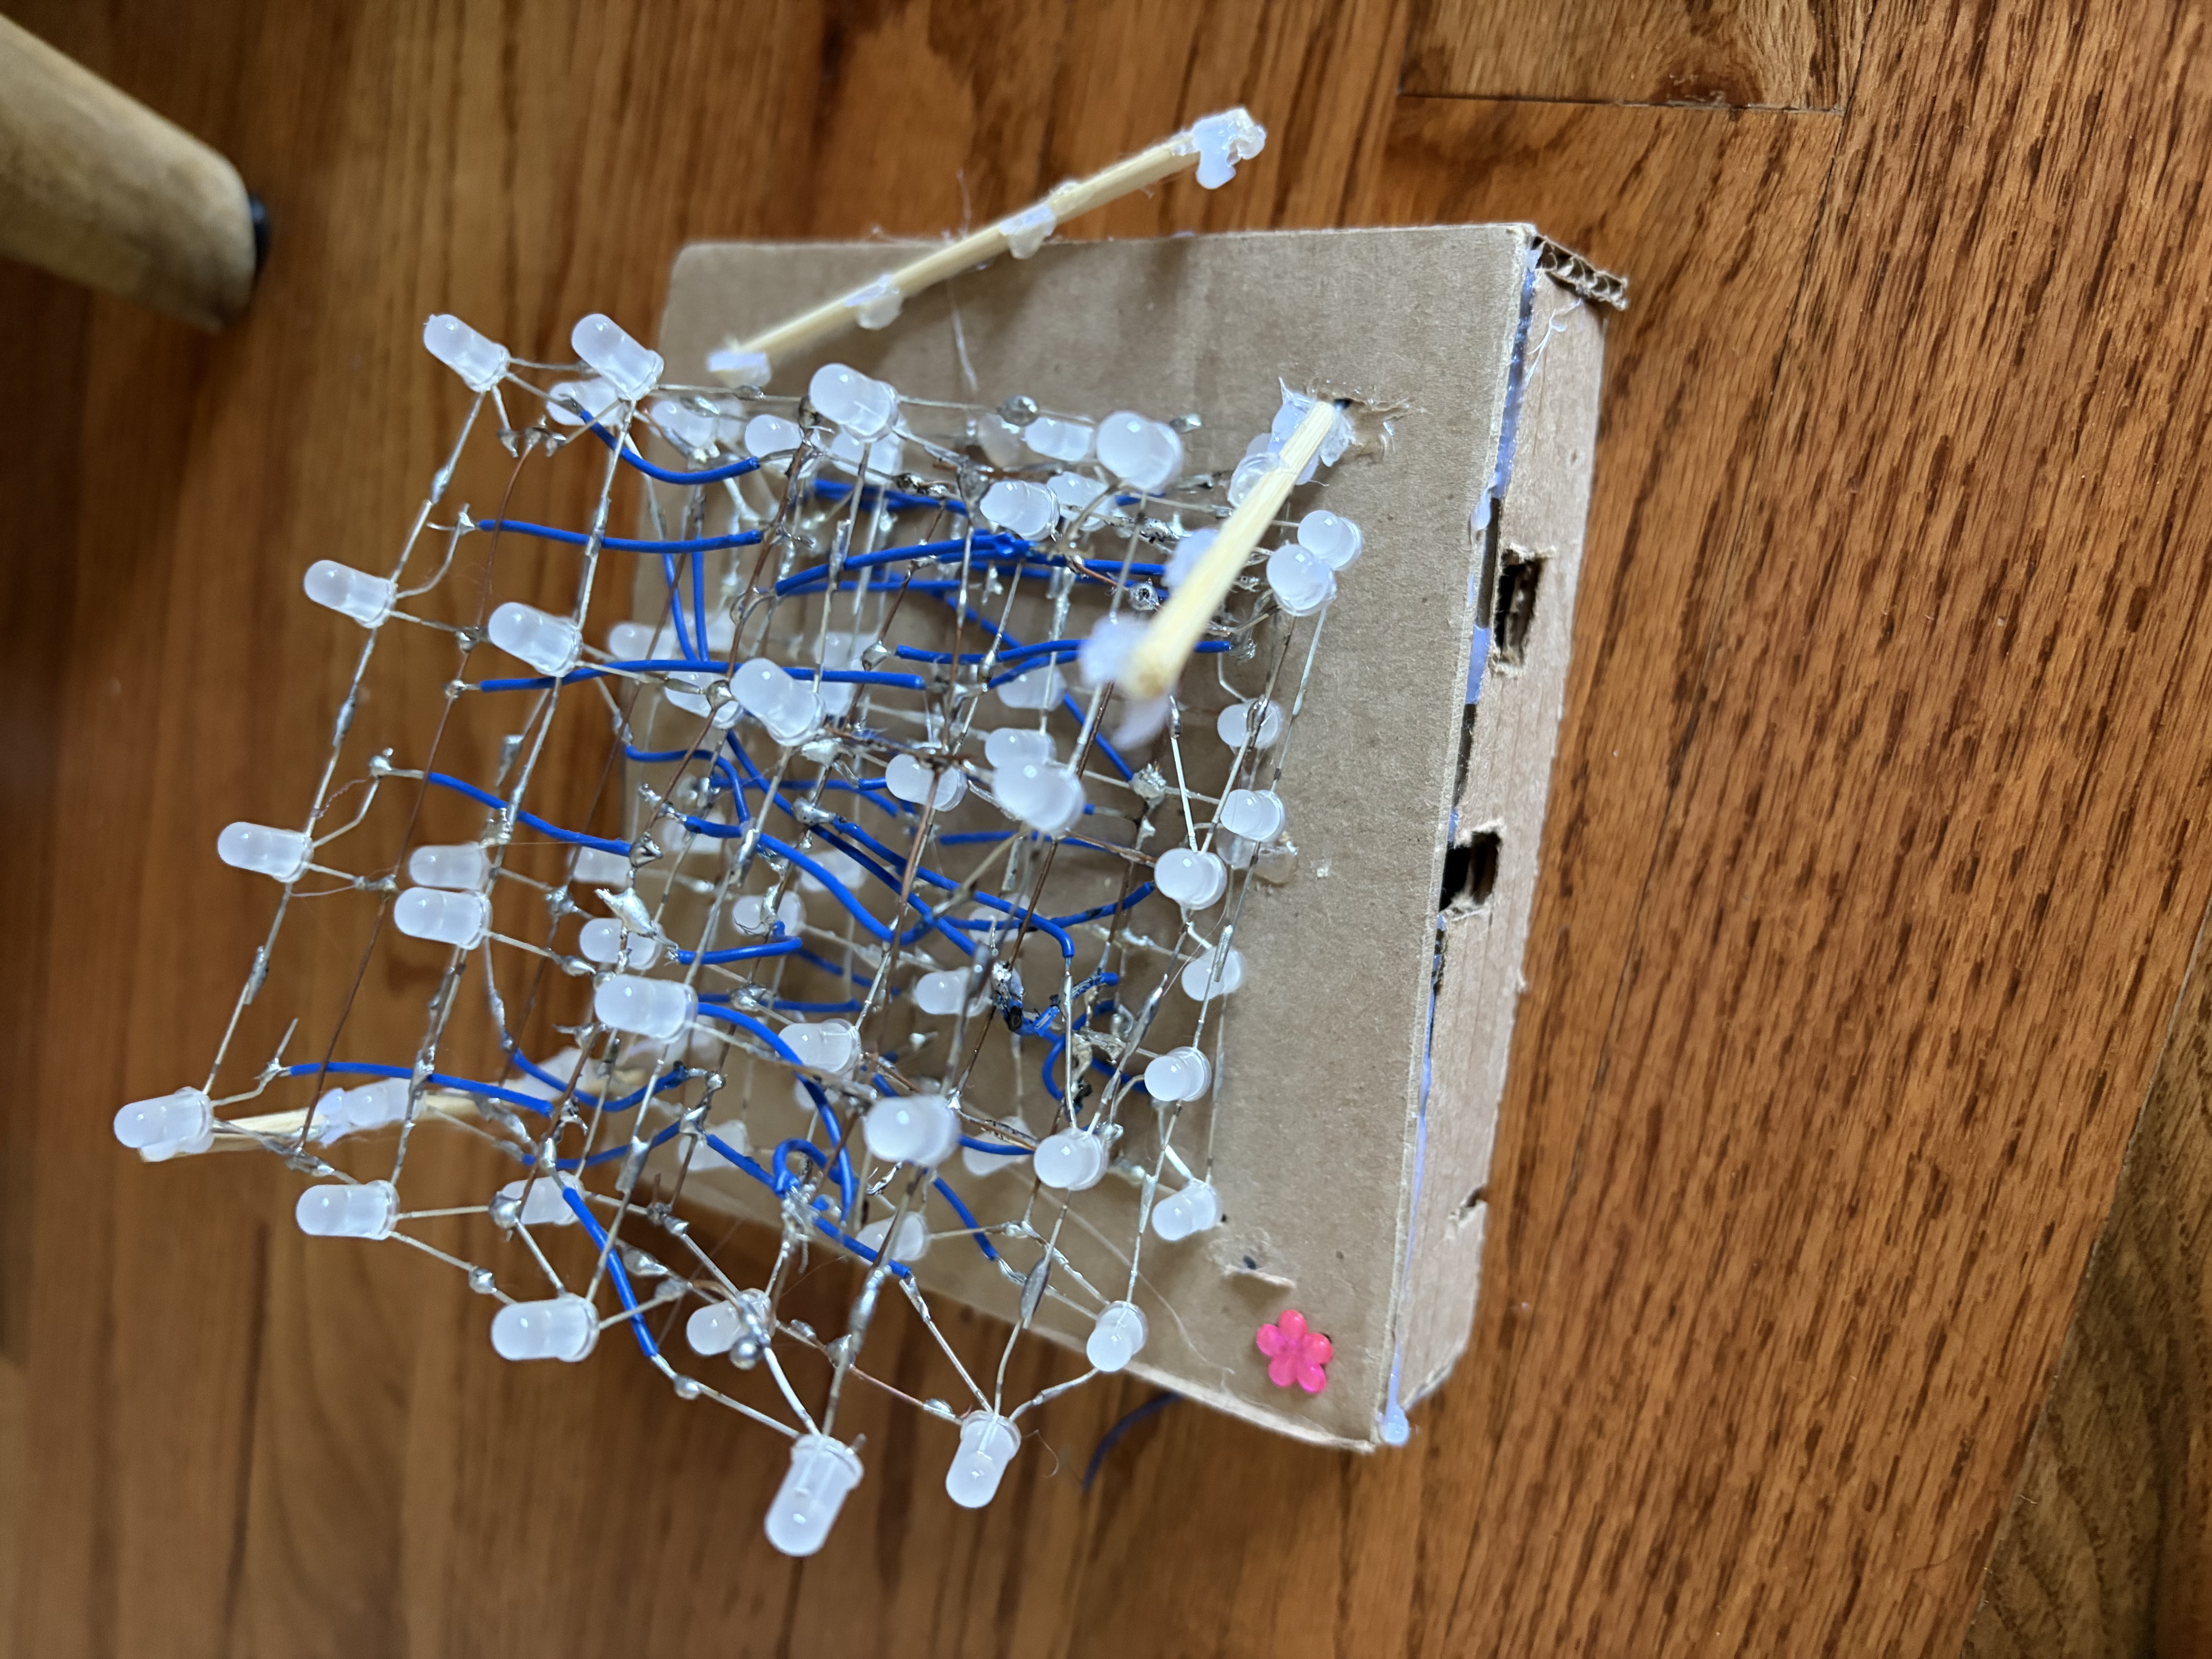
RGB LED Cube 4 x 4 x 4
For my second project, i had just got a soldering iron for my birthday, and I wnted to put it into good use. I started seeing LED cube builds on YouTube and my intrest was immedietly piqued.
They looked really cool and an awesome display piece. I decided I wanted to solder and build a four x four x four one, and i would use RGB LEDs to do so to make a cooler effect.
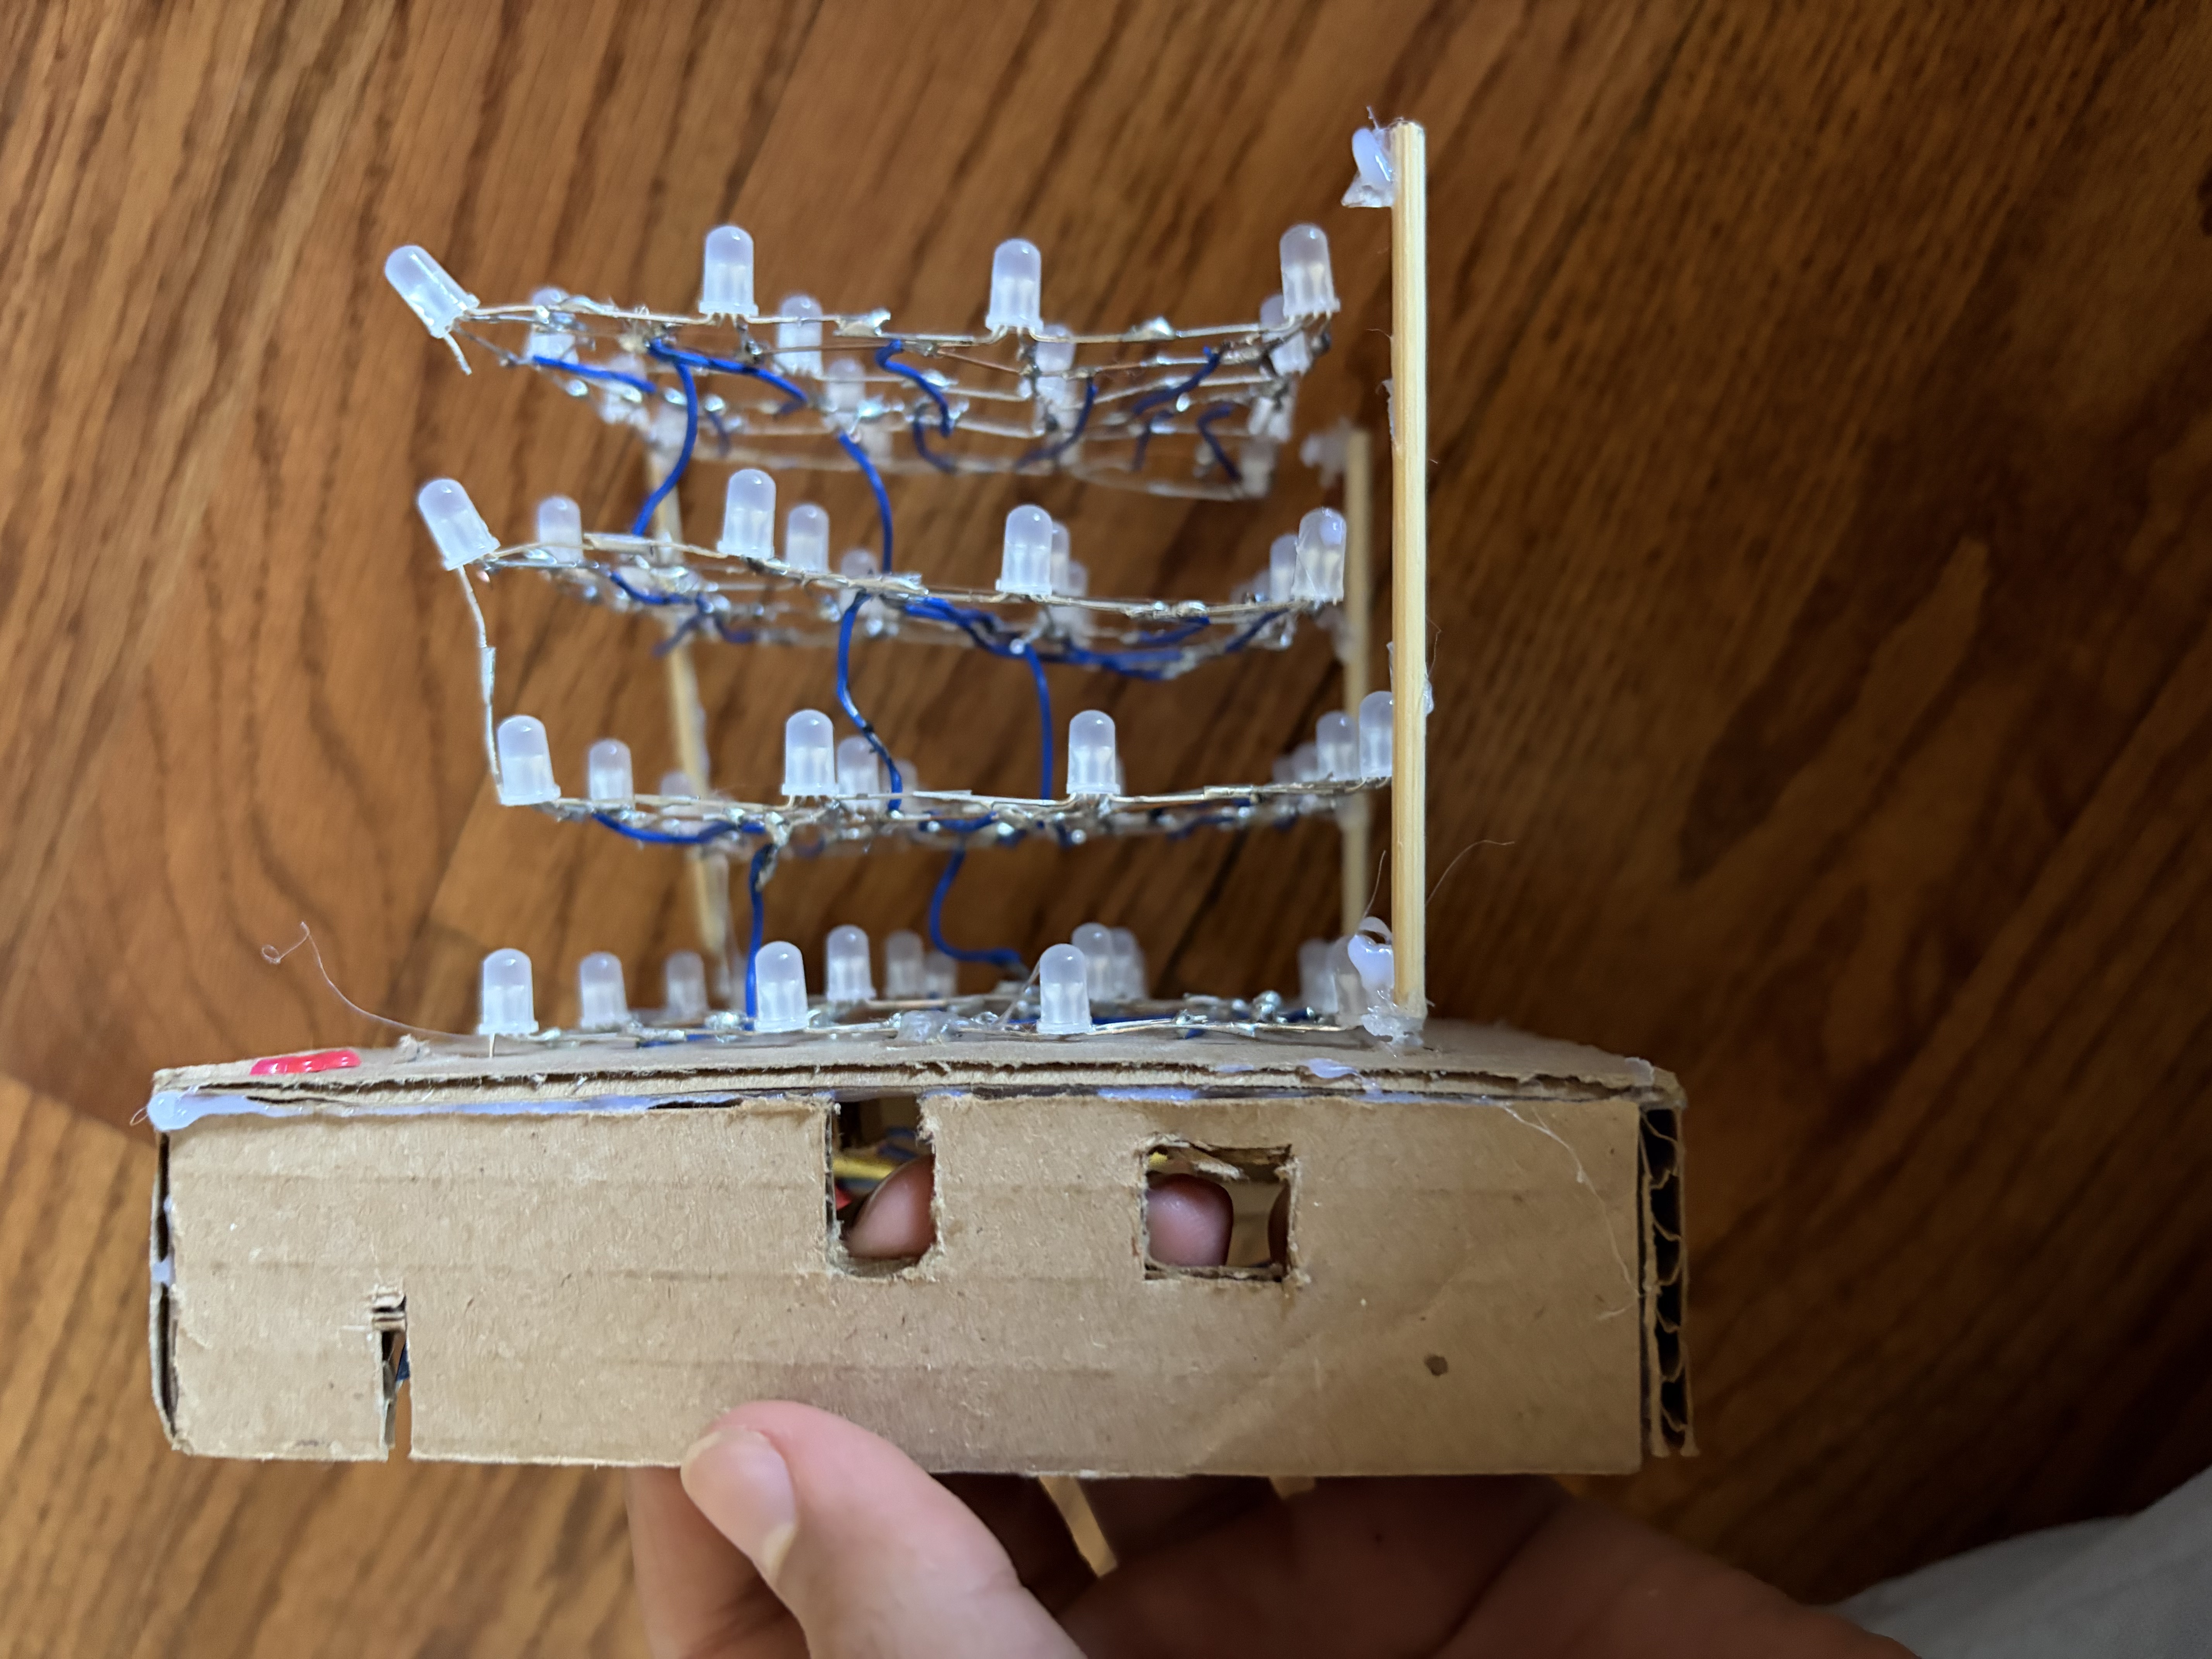
After ordering the materials, I made a little jig using cardboard where i could insert the LEDs into to form a grid -- one layer of my cube. I soldered together the VCC and GND pins of my 4 pin LED, and then daisy-chained the data-out of the first LED to the data-in of the next. After connecting all the layers using the data pin, i was able to control all 64 of my lights using a single pin from my Arduino Uno.
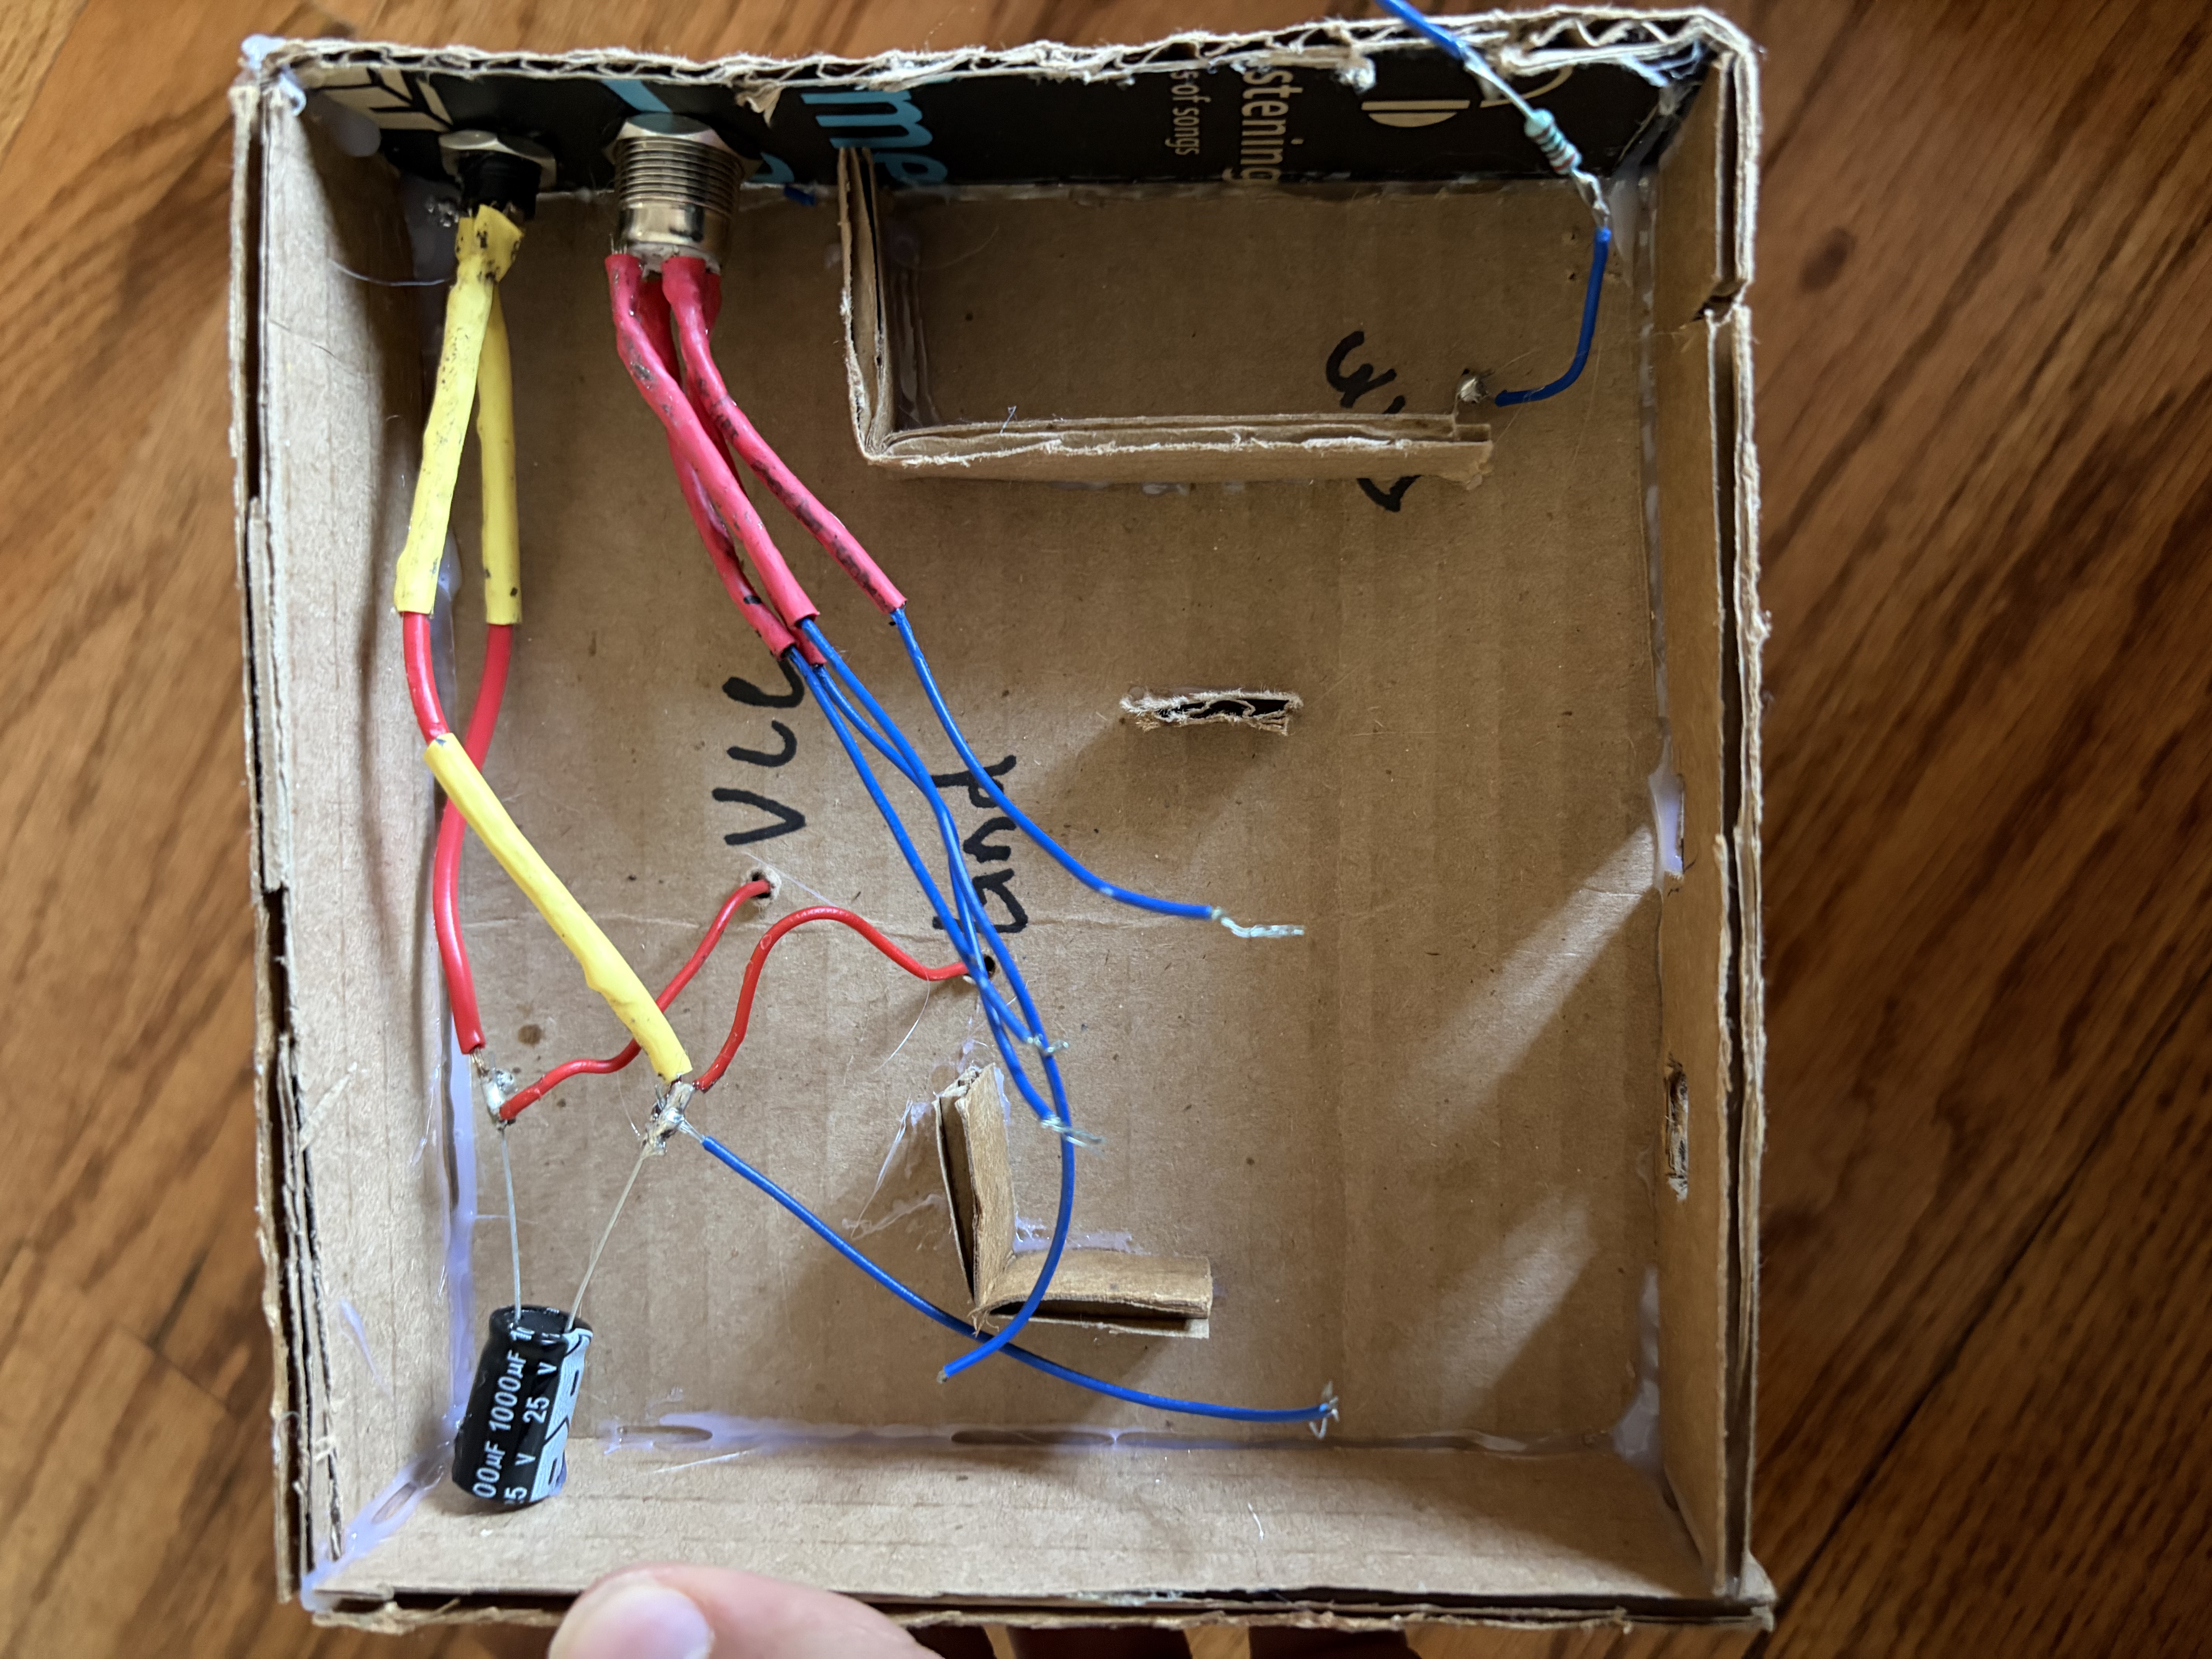
To power everything, i bought a dedicated power cabe and a plug which I soldered to the LED power pins. I also added a bulky 1000 uF capaitor to the VCC/GND to decouple and smoothen the power.
I powered the Arduino seperetely using a 9V battery, and wrote a program with a premade library that would flash all the LEDs on the cube. Testing the program, the LEDs lit up, but towards the end of the chain the color was corrupted and was not displaying the right thing.
I realised the problem was that the data line was not transmitting the data properly. After rechecking all the connections, I found a few loose connections and after fixing them the cube started working normall again. But after a few minutes I found the same issue of the colors becoming corrupted. I still have not found the reason for this.
What I Learned
I learned a lot from this project:
- How to solder pins together
- How to use RGB LEDs and daisy-chain them
- How to handle hig-power systems
- How to do basic decoupling with capacitors
Images
As you can see, the LED cube has gotten pretty beat up and is barely hanging on